
Sculpting for Beginners: 9 Essential Tips and Tricks to Get Started
Art is a great form of expression. Many people dream of creating art and yet have never attempted to learn to paint or sculpt.
Becoming a sculpture is a matter of learning some basic techniques. Clay is a very specific material that requires special tools, as well as a knowledge of how it reacts to being shaped and manipulated. The better you understand the basics, the more easily you will become a master of this art form.
This article takes a look at sculpting for beginners, from materials and techniques to the tools you’ll need. Keep reading to learn how to get started at unleashing the master sculptor inside of you.
1. Choose a Work Space
When getting started as a sculpture, the first thing you’re going to need is a good workspace. You don’t need vast amounts of room, just enough to be able to move around and set up a work table and store your tools.
This can be inside your home, or in the garage, or any other type of space. The key is for the space to be clean, with good light and a comfortable chair.
2. Experiment With a Variety of Tools
One of the fun things about learning to sculpt is that different tools enable you to accomplish a wide variety of effects. You can use an assortment of knives, brushes, wire, as well as special tools for creating texture.
As your skills improve, you’ll be able to use different tools for subtle touches in the clay that really bring your sculptures to life.
3. Sketch a Design
Before you begin to work with the clay, it’s a good idea to sit down and sketch out your idea on a piece of paper. Keep in mind that your sketch doesn’t have to be great. This is really just to provide a road map or reference tool.
Sketching it from different angles can be very helpful, as well as sketching it to scale. This might seem unnecessary at first, but you’ll be amazed at how helpful this part of the process actually is.
4. Build an Armature
The armature is simply the support structure that you will build the sculpture around. This is important for keeping your clay from collapsing or falling apart as you work.
An armature is typically made of wire, especially in smaller sculptures. Wire is great because it can be easily manipulated into any shape. With bigger works, you might choose materials such as PVC. The key is to utilize a material that will provide a foundation for the piece as you work and to support it once it’s completed.
5. Add Filler to the Armature
Next, you will begin to add filler around the armature structure. This step is intended to provide the foundation for the work. You will simply start adding lumps of clay to form a shapeless mound that will give you a place to start.
With this stage in the process, it’s important to add enough material so that you have plenty to work with as you prepare to begin shaping your idea.
6. Start With the Basic Form
Now it’s time to begin shaping. In the beginning, you will typically be taking away larger amounts of material. Don’t worry about the fine details yet. You will be referencing your sketches to determine the overall shape of the piece.
Keep in mind that the process of sculpting is about the removal of material. One of the great things about working with clay is that you can always add more. So don’t worry about making mistakes. You can be as detailed as you like, but if you happen to cut away too much, it can easily be fixed.
Once you’ve achieved the basic shape of the sculpture, now you can begin the detail work that will really make your choice of tools very important.
Here is a resource where you can learn more about concrete casting and molding.
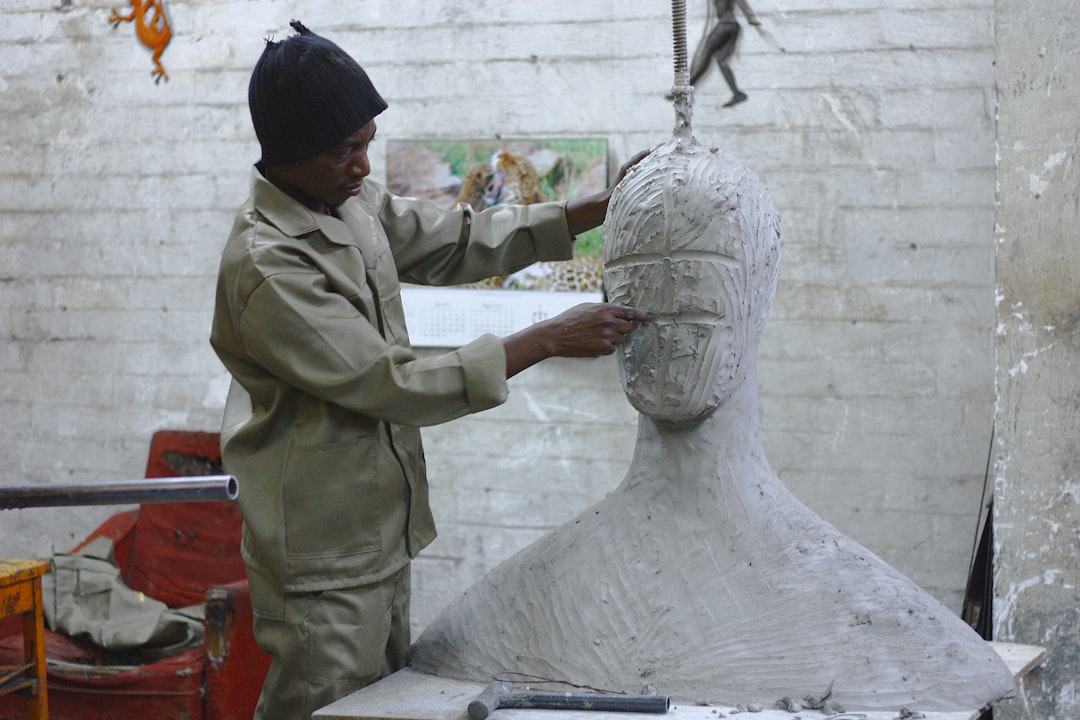
7. Forming/Adding Sections/Adding Texture
Sculpting is all about removing raw material in order to discover the shape hidden underneath. As your skills improve, and your knowledge of tools expands, you’ll be amazed at what you can accomplish with just a few small touches.
The secrets of shaping and texturing can only be learned through experience. This obviously comes more naturally to some people than others, but the more you practice, the more your skills will develop.
It’s important to be patient and to focus on learning the basics. As you shape, add texture, learn to scoop, and perform very fine, detailed work, you can also add sections and expand on your original idea.
Try to resist the impulse have impossible expectations at first. This is a learned skill, and will thus take time and repetition to master each step in the process.
8. Curing
Curing is the process of hardening the clay. This step isn’t absolutely necessary but can help to protect the sculpture once the rest of the work has been completed.
Keep in mind that different types of clay require different curing methods. These methods include air drying or baking. It’s important to understand the type of curing your clay requires before you begin the sculpting process.
9. Adding Finishes or Gloss
Once the curing is complete, the final step is to add a finish or gloss. Again, this step is more about preference. Do you want your sculpture to be colored or shiny? If so, this is the stage where you can add paint or glaze to give your work a more distinctive appearance.
Learning the Basics of Sculpting for Beginners
Art is important for expanding the mind and nourishing the human spirit. Thus learning to express yourself is a great way to become your best self.
Understand the basics of sculpting for beginners is easier than you might think. The key is to find a space where you can work, to gather the proper tools and materials, and to be patient with the process.
If you found this article informative, be sure to check out our website for more great articles on a wide range of topics.
Information contained on this page is provided by an independent third-party content provider. Frankly and this Site make no warranties or representations in connection therewith. If you are affiliated with this page and would like it removed please contact [email protected]
